
Rather than bore you with all the gory details up-front like always (I'm talking about MY blog posts of course, Kelly's are always witty and entertaining up-front!), I decided to hit you with the finished product right off the bat!
Voilà!!!


(and yes...that's a tarantula in our wheat grass for all you Halloween fans out there!!)
Now...here is how we got there...
After all the drywall was done and the walls were painted a fresh and clean "Extra White," I put down some flooring and framed up a "vanity-ish" thing for our future sink...remember that terrible angle-y wall thingy I had to contend with? No big whoop.

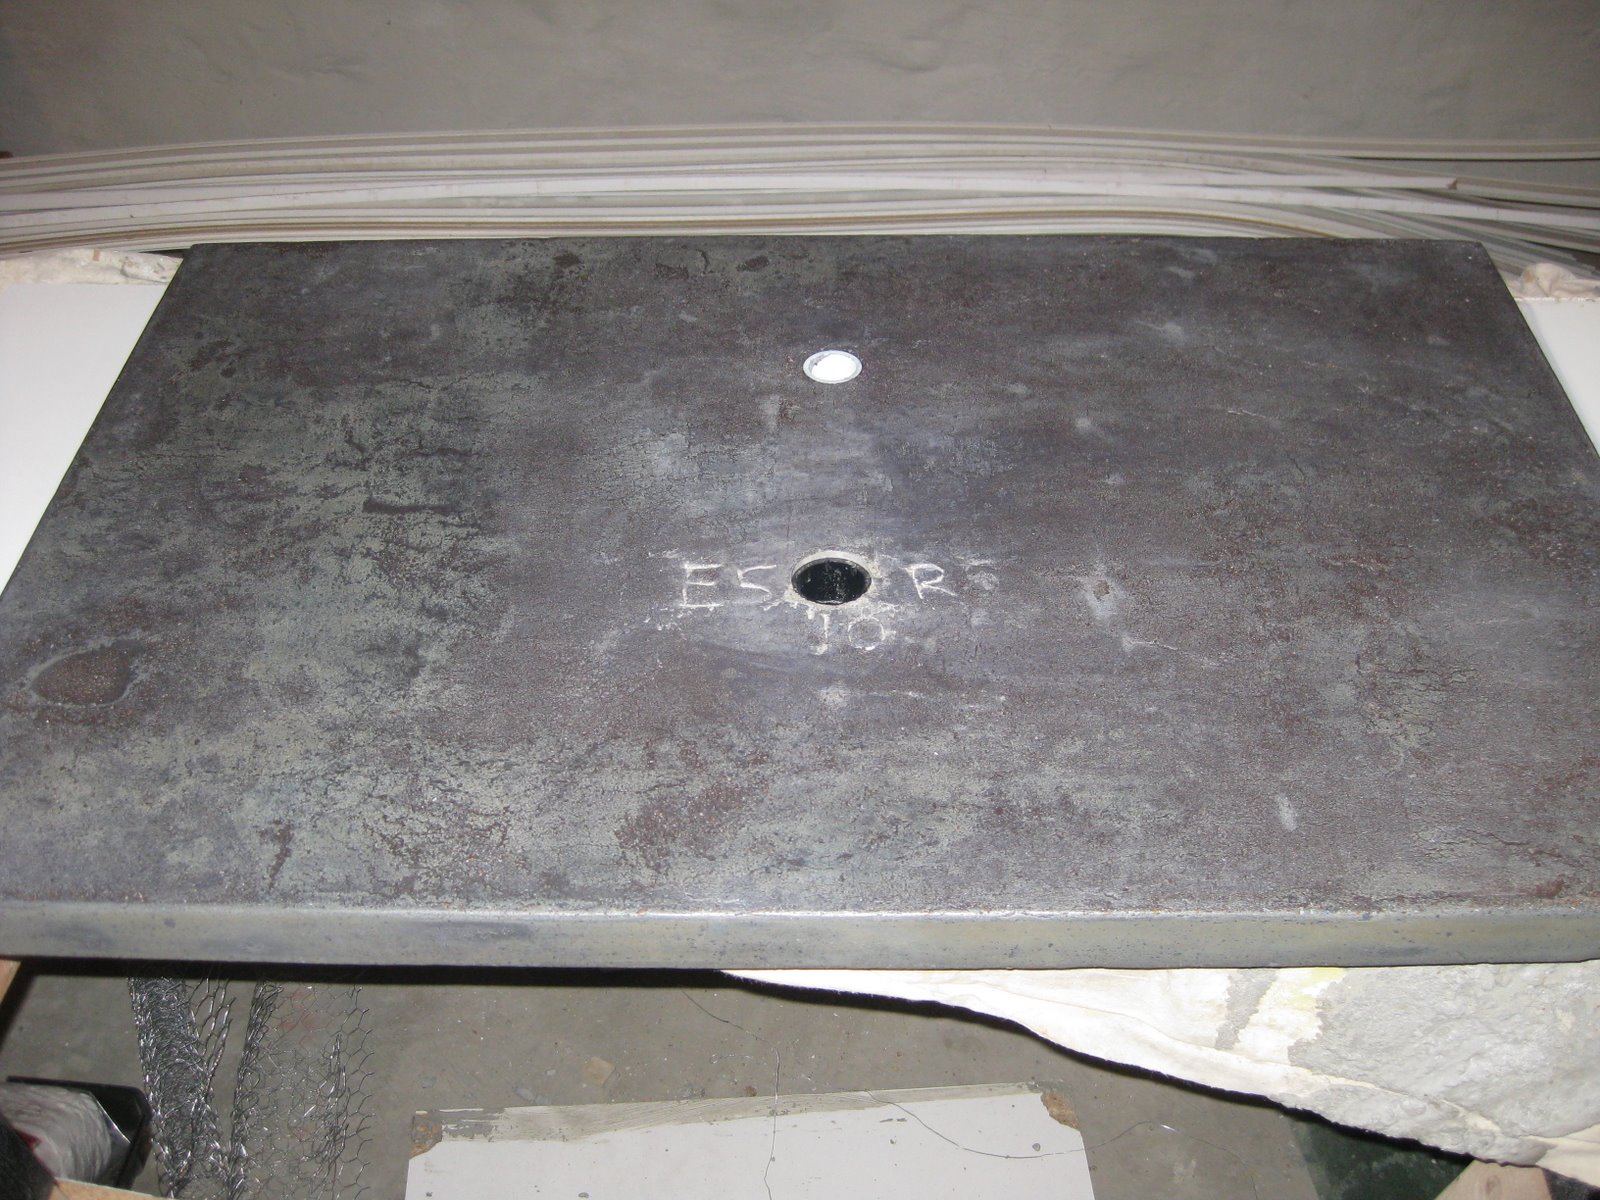
Then with the help of a returning Two Six E project champion...my old man...I framed up, poured, troweled, sanded, sanded some more, stained, and finished a concrete countertop...in our basement. The black and white holes you see will come into play later...they're supposed to be there. ;)
I'm very proud of this thing...including all the natural variations in the finished concrete! This was a NEW kind of project never before attempted by me or my old man! It was a task deserving of an entirely separate blog post that is forthcoming. THANKS MY OLD MAN!!!

Then with the help of a NEW Two Six E project champion...our friend Erik W. (in the foreground...the one struggling less than the other), we carried the now 150 lb. countertop UP the stairs and dropped it into place with only MINIMAL wall scuffing! :) (the scuffing was my doing) THANKS ERIK!!!


Then I wired up a new IKEA light fixture...(I was the only project champion on this step)...


________________________________________________
For one final look (if you have a strong stomach)...the BEFORE...

After all the drywall was done and the walls were painted a fresh and clean "Extra White," I put down some flooring and framed up a "vanity-ish" thing for our future sink...remember that terrible angle-y wall thingy I had to contend with? No big whoop.

Then with the help of a returning Two Six E project champion...my old man...I framed up, poured, troweled, sanded, sanded some more, stained, and finished a concrete countertop...in our basement. The black and white holes you see will come into play later...they're supposed to be there. ;)
I'm very proud of this thing...including all the natural variations in the finished concrete! This was a NEW kind of project never before attempted by me or my old man! It was a task deserving of an entirely separate blog post that is forthcoming. THANKS MY OLD MAN!!!
Then with the help of a NEW Two Six E project champion...our friend Erik W. (in the foreground...the one struggling less than the other), we carried the now 150 lb. countertop UP the stairs and dropped it into place with only MINIMAL wall scuffing! :) (the scuffing was my doing) THANKS ERIK!!!

(sample backsplash tile at back of countertop)

Then I wired up a new IKEA light fixture...(I was the only project champion on this step)...

Then with the help of yet ANOTHER returning Two Six E project champion, our good friend Chip C., we added the mosaic tile backsplash (natural slate + glass tile mix)... THANKS CHIP!!!

Then I finished building the shelves and shelf fronts for the "vanity"...

...there's more rocket science involved here than it looks like folks!!! Measure 4 times...cut 2 or 3 times...get new piece of wood and cut again I always say!

Then finished the door casing and base trim. Notice we tried to replicate the traditional style found throughout the rest of the house, replacing the more modern, boring, cheap-o door casing that was in place previously...

Then I set another Glacier Bay dual-flush toilet from Home Depot like the one we used upstairs...GO ENVIRONMENT!!!

...set the sink (a Kraus vessel from csnstores.com), hooked up the faucet (a Glacier Bay from HD), connected the drain...

...and let Kelly start making it pretty! :) These are watertight, porcelain vases from CB2. Perfect for orchids!

And what would a bathroom be if not a place for reading some fine poetry by Alex...??? A tribute to our feathered friend we found during the first phase of demolition.

For one final look (if you have a strong stomach)...the BEFORE...

...and AFTER!!!

Here's to happy flushing...and washing of course!!!
-EJ
WOW!! I made THE blog!
ReplyDeleteLooks good guys!